Tutorial
The following tutorial shows how to detect a face in an image using FaceTracker. The complete demo can be found in the examples folder of the source distribution:
Filename: examples/face_image.py
First we need to import the facetracker package:
>>> import facetracker
To create the tracker with need to pass it the face model file:
>>> tracker = facetracker.FaceTracker(r'..\external\FaceTracker\model\face.tracker')
The tracker requires a gray scale image. We use the PIL package to load an image and transform it to gray scale:
>>> img = Image.open(img_path)
>>> gray = img.convert('L')
>>> gray = np.asarray(gray)
The last statement converts the PIL image into a numpy array which is the format required by the tracker. The tracker uses a window size to determine the STD of each feature. The setWindowSizes accepts a tuple of window sizes. The values should be sorted from high to low:
>>> tracker.setWindowSizes((11, 9, 7))
The face detection is invoked by the update method of the tracker:
>>> tracker.update(gray)
The update method returns True on success. The estimated face coordinates can be drawn on the image using the draw method. The draw method accepts a RGB image and two numpy arrays describing the connection and triangulation of the model:
>>> conns = facetracker.LoadCon(r'..\external\FaceTracker\model\face.con')
>>> trigs = facetracker.LoadTri(r'..\external\FaceTracker\model\face.tri')
>>> img = tracker.draw(img, conns, trigs)
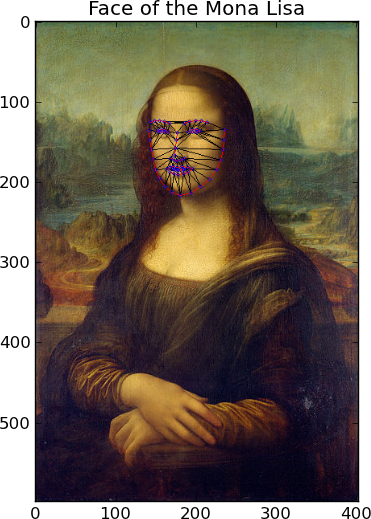
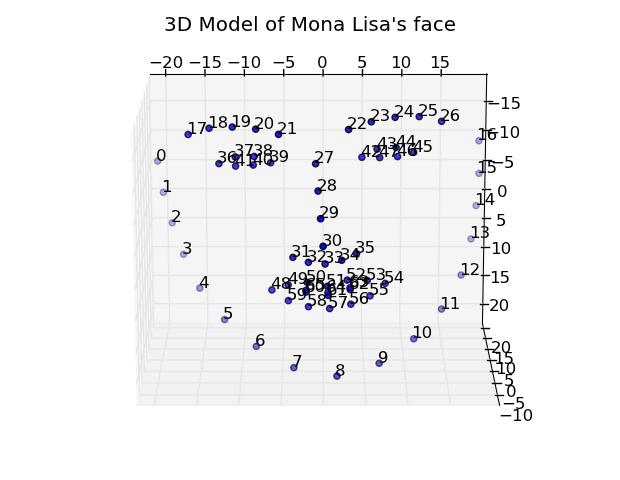
The image space coordinates of the face features can be retrieved using the get2DShape method. The 3D coordinates of the features can be retrieved using the get3DShape method:
>>> obj3D = tracker.get3DShape()
>>> fig3d = plt.figure()
>>> ax = fig3d.add_subplot(111, projection='3d')
>>> ax.scatter(obj3D[:66, 0], obj3D[66:132, 0], obj3D[132:, 0])
More examples can be found in the source distribution under the examples/ folder.