Skins
Skins are set of color schemes standing on top of templates. django-richtemplates comes with following skins:
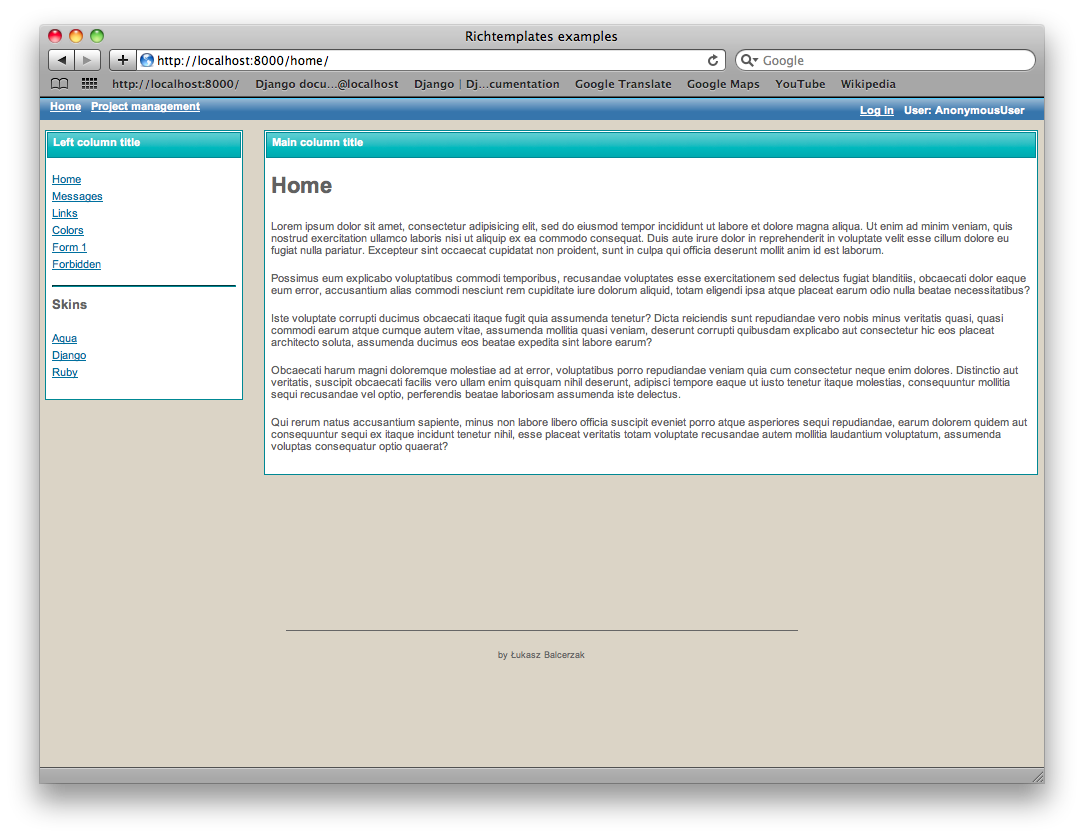
- Aqua skin (alias: aqua, default skin) - light blue colors
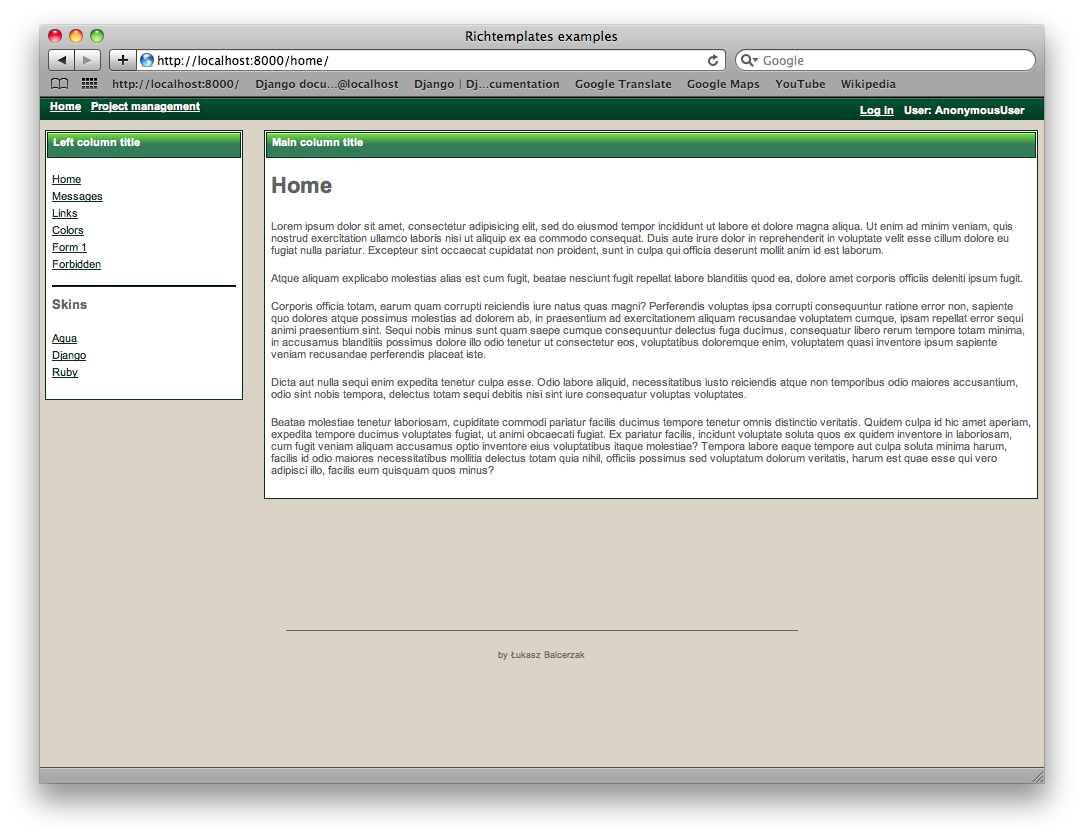
- Django skin - (alias: django) Django colors skin (deep green)
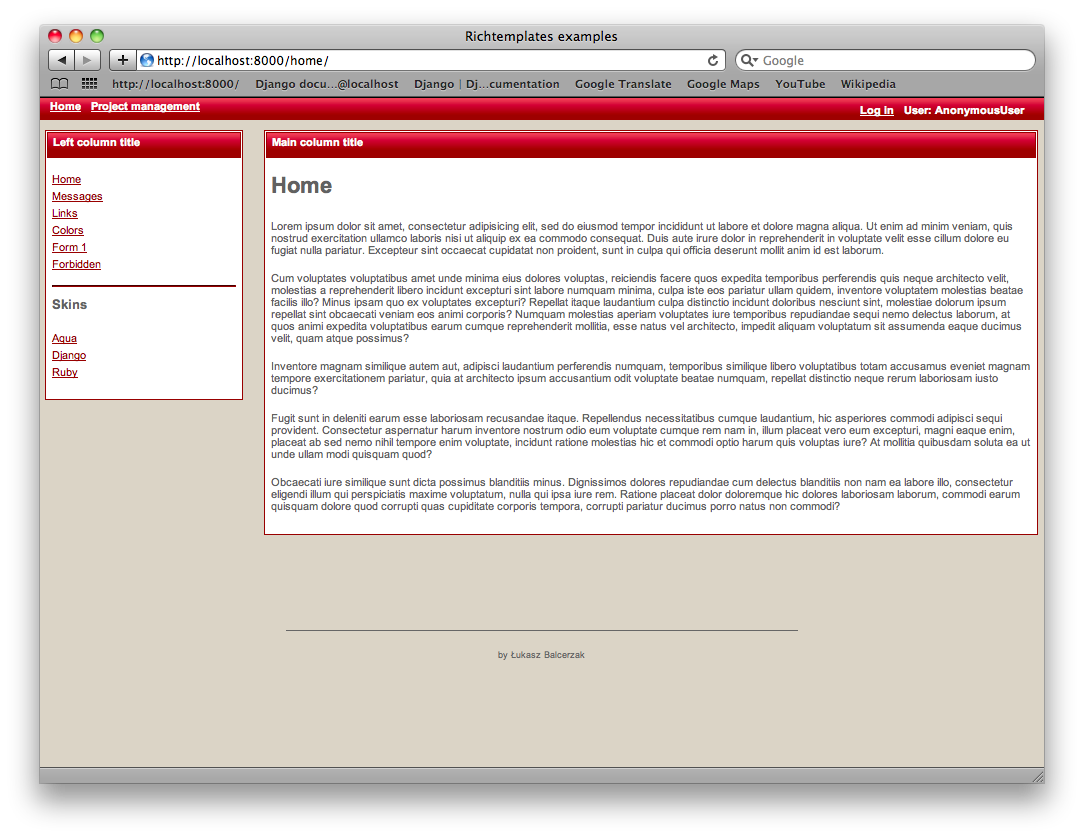
- Ruby skin - (alias: ruby) deep red colors
Default skin
Default skin for django-richtemplates is Aqua skin. You may override this by providing RICHTEMPLATES_DEFAULT_SKIN in your settings module. For example, if you would like to use Django skin as default richtemplates skin in your project you need to put following line in your settings module:
Writing a skin
Writing a skin is simple as skin is only one small css file. Take a look at the boundled skins, they are located at richtemplates/media/css/skins/. Make a copy of the chosen skin and change it as you like.
After you make your own skin you would need to hook it into django-richtemplates. Follow Adding new skin instructions.
Adding new skin
Already created a new css file? Great, but you still need to hook it into your project. To do so, you have to provide information on your skin at settings module in RICHTEMPLATES_SKINS dictionary. Being more precise, you have to define skin’s name and url to newly defined skin. Skins are recognized by alias which should be a key of the dictionary.
Note
Alias of the skin should be a slug. At runtime, richtemplates would check if the alias is a proper slug using django.template.defaultfilters.slugify function.
Here is an example:
Note that we haven’t define full url - richtemplates would put {{ MEDIA_URL }} in front of it. Moreover, if you would put myskin.css at {{ MEDIA_URL }}/richtemplates/css/skins/ location you would not need to define url at all, and you could simply write:
Note
You need to define url in RICHTEMPLATES_SKINS only if name of the css file is the same as alias of the skin (key of RICHTEMPLATES_SKINS dictionary.
Aqua skin
This is light blue (quite popular for last few years) skin. It is default skin. Here are two shots:


