shabti_pyblosxom – Shabti with integrated Pyblosxom blog
Tip
Mostly complete, some of the XMLRPC back-end tests remain to be debugged.
This template is a basic shabti default setup to which has been added a controller and a corresponding configuration that integrates the PyBlosxom blog. PyBlosxom can run in CGI environments, under Paste, and as a WSGI application. As such, PyBlosxom is a pretty straight-forward system that allows you to do the things you need to do without building everything from scratch. The ability to run in a WSGI environment makes it an obvious candidate for a drop-in Pylons blog.
About PyBlosxom
PyBlosxom is a lightweight file-based weblog system. The project started as a Python clone of Blosxom but has since evolved into a beast of its own. PyBlosxom focuses on three things: simplicity, extensibility, and community.
simplicity - PyBlosxom uses the file system for all its data storage. Because of this you can use whatever existing editor, scripts and tools you want to create, update and manipulate entries and other blog data.
extensibility - PyBlosxom has a plugin framework allowing you to build plugins in Python to augment and change PyBlosxom’s default behavior.
community - There are hundreds of PyBlosxom users out there all of whom have different needs. PyBlosxom is used on a variety of operating systems in a variety of environments. The pyblosxom users list shares their experiences, plugins, and expertise. The pyblosxom devel list shares their ideas for changes, patches and plugins.
Using the template
After successfully installing Shabti, additional paster templates will be available. Simply create a Shabti-configured project by specifying that paster should use the shabti_pyblosxom template:
$ paster create -t shabti_pyblosxom myproj
These are the option dialogue choices appropriate for the Shabti auth shabti_pyblosxom template — which uses mako templates and requires SQLAlchemy ...
(mako/genshi/jinja/etc: Template language) ['mako']:
(True/False: Include SQLAlchemy 0.4 configuration) [False]: True
(True/False: Setup default appropriate for Google App Engine) [False]:
Once the project has been created, navigate to the project directory.
The next step is to initialise the blog by running the project setup script which will create an initial entry.
$ paster setup-app development.ini
The next (optional) step after initialising the relational store is to run the tests.
Running the generated app
After initialising it, start the Pylons web app with:
$ paster serve --reload development.ini
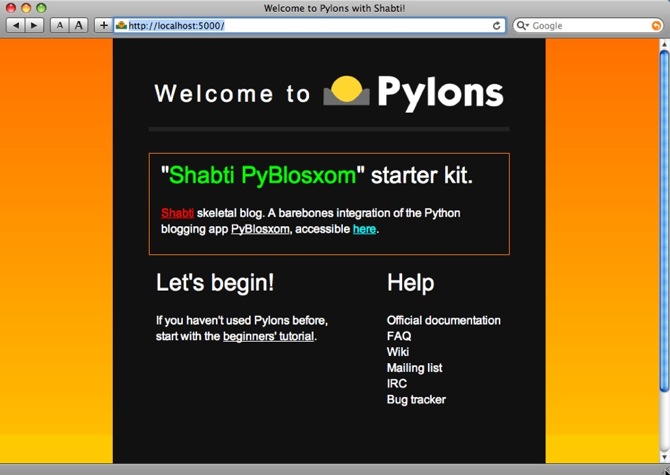
The Shabti PyBlosxom template’s variant on the standard Pylons welcome screen is browsable at at http://localhost:5000/ ...
Template details
This template is an extension of the standard shabti default template that adds and routes a single controller for calling PyBlosxom in a WSGI environment and which populates the myproj/data folder with PyBlosxom resources and a “shovel-ready” PyBlosxom configuration file. A further convenience file rst.py (enabling PyBlosxom to use the ReSTructured text parser) is added to myproj/lib.
Routing
URL routing is handled via PATH_INFO..
# CUSTOM ROUTES HERE

map.connect('blogindex', '/blog/',
         controller='blog', action='index',
         path_info='/')

map.connect('blogpage', '/blog/{path_info:.*}',
         controller='blog', action='view')
WSGI Controller
The WSGI blog controller is mostly straightforward, the only wrinkle being the necessity of adding the location of the blog’s config file to the system path.
# -*- coding: utf-8 -*-
import os
import StringIO
import urllib
import sys
import pylons
from pylons import request
from myapp.lib.base import BaseController
import Pyblosxom.pyblosxom

import logging
log = logging.getLogger(__name__)

configpydir = '/'.join(os.path.dirname(__file__).split('/')[:-2]) + \
    '/data/blog'
if configpydir not in sys.path:
    sys.path.insert(0, configpydir)

class BlogController(BaseController):

    def index(self):
        os.chdir(configpydir)
        # Thanks to ianbicking for identifying both the necessity
        # for and the description of this workaround for
        # reconstituting wsgi.input
        if request.environ.get('paste.parsed_formvars', False):
            wsgi_input = urllib.urlencode(
                request.environ['paste.parsed_formvars'][0], True)
            request.environ['wsgi.input'] = \
                    StringIO.StringIO(wsgi_input)
            request.environ['CONTENT_LENGTH'] = len(wsgi_input)
        # Uncomment this if you're using PrefixMiddleware
        # request.environ['SCRIPT_NAME'] = ''
        request.environ['PATH_INFO'] = \
                    request.environ['PATH_INFO'].__str__()
        application = Pyblosxom.pyblosxom.PyBlosxomWSGIApp()
        return application(request.environ, self.start_response)

    def view(self):
        os.chdir(configpydir)
        application = Pyblosxom.pyblosxom.PyBlosxomWSGIApp()
        return application(request.environ, self.start_response)
The PyBlosxom blog is immediately available for use on http://localhost/blog/.
Skinning and Theming
Skinning the blog and beefing up the functionality is done via PyBlosxom own system of flavours (themes, in essence) and an array of plugins
Maintaining the entries
Pyblosxom uses the filesystem to store posts in a data directory (datadir), the subdirectories of which act as blog categories.
Writing entries in PyBlosxom is quite straightforward. Each entry is a single text file located somewhere in the directory tree of your datadir. The directory that the entry is in is the category the entry is “filed under”.
For example, if the datadir is /home/joe/myblog/entries and an entry named firstpost.txt is saved to /home/joe/myblog/entries/status then the category for the entry would be /status.
One very workable strategy is to check the PyBlosxom data directory into a Mercurial repository and clone the repository to local store.
Create / edit the posts locally on the local store using a text editor of choice and when a post is ready for publishing, commit it to the repository on the server where a mercurial post-commit hook can update the corresponding posts directory in the project.
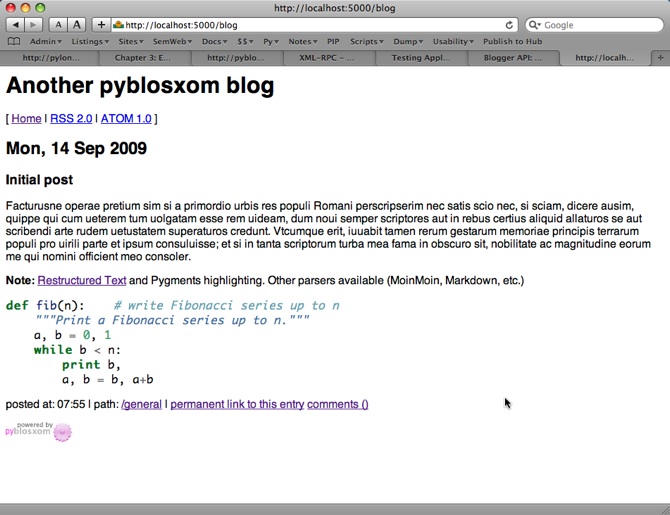
This setup provides RESTructured text and pygments-highlighted code.
PyBlosxom blog index page
Showing just a single entry and demonstrating the pygments-styled syntax highlighting.
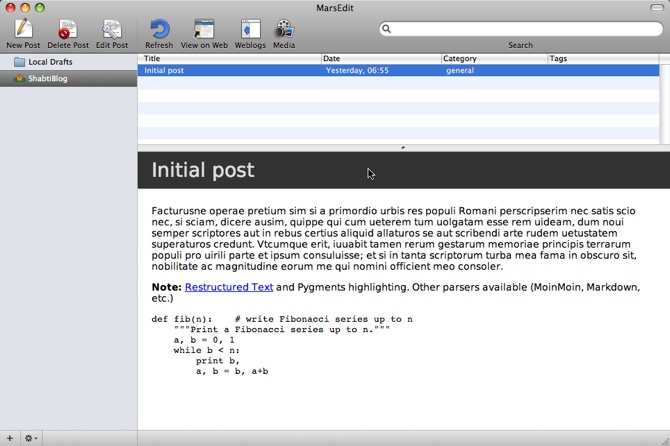
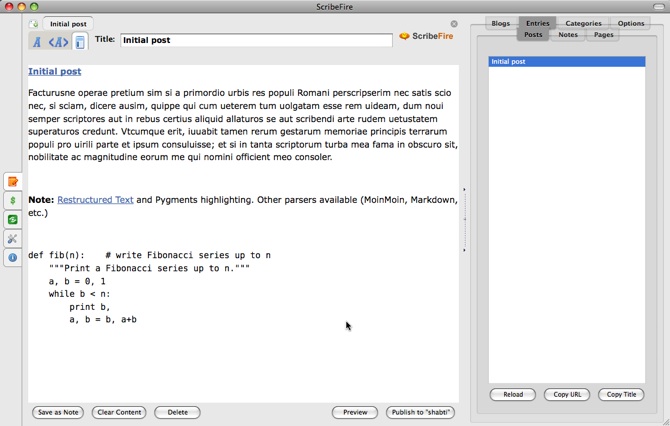
As an alternative, the PyBlosxom metaweblog API plugins are installed by the template, so PyBlosxom can be used with any metaweblog-API-capable desktop app such as Marsedit and ecto blogging apps or the ScribeFire FF plugin:
MarsEdit view of Shabti PyBlosxom blog
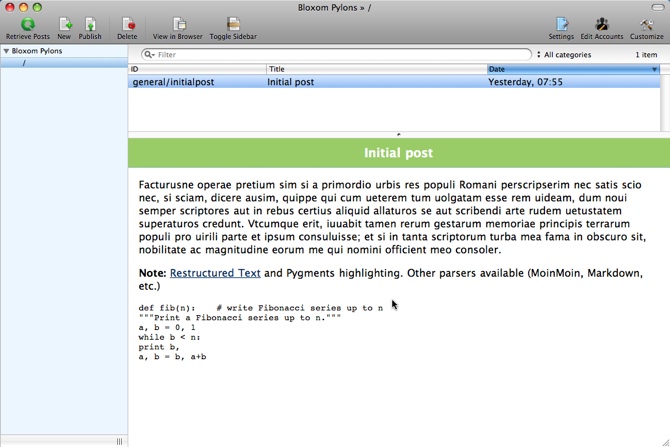
ecto view of Shabti PyBlosxom blog
ScribeFire view of Shabti PyBlosxom blog
September 06, 2010