
MinimPy Quick Start Guide
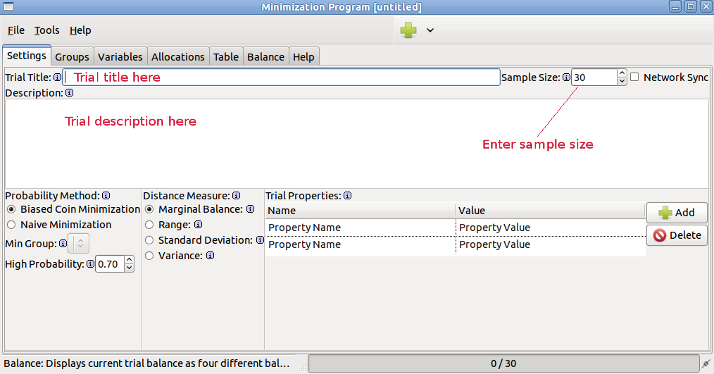
1 - Click on the "Settings" tab. Enter trial title, sample size and trial decription
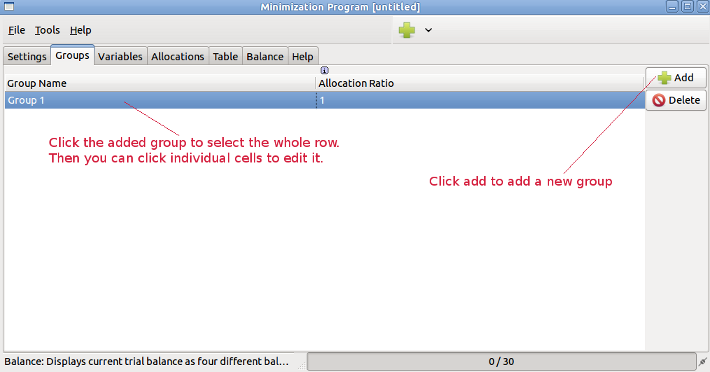
2 - Click on the "Groups" tab. For each group click "Add" button to add a new group.
Click on this new group in the table to select the row
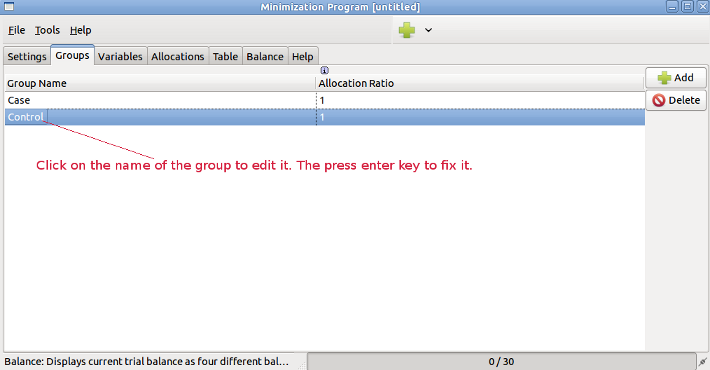
3 - Click the name of the group to edit it. After edit press Enter key.
4 - Click on the "Variables" tab. For each variable click add to add a new variable
Just the same as group tab, click and edit variables.
Double click the pencil icon, to edit the variable and levels.

All properites of a variable can be edited in variable edit window.
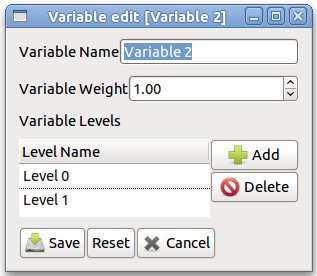
Variable name, weight, and levels can be edited. Levels can be added or deleted.
After finish, press the Save button to save the changes and exit the edit variable window.
5 - Click the file menu and select Save. Alternatively you can press to save the trial.
6 - An information dialogue will appear showing trial settings. Click Trail Details to see the trial details.
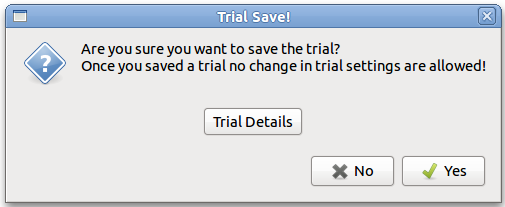
Click Yes to accept the settings. Trial will be locked and you can start allocating subject
In the displayed save dialogue, go to the location in your computer you want to save, enter the name of the file and click save
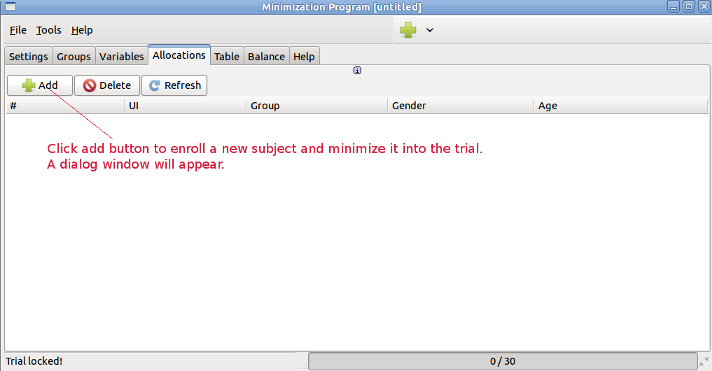
7 - To allocate a subject click "Allocations" tab. Click Add button to add a new subject to the trial.
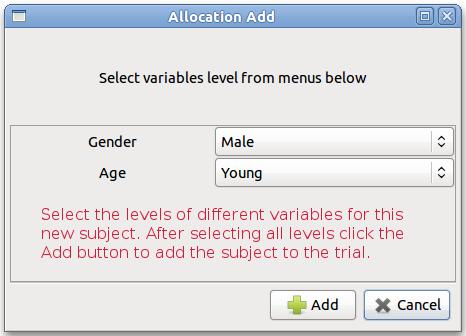
A dialog will apear. Select levels of different variable corresponding to the new subject.
Then click Add button to enroll the new subject.
Another dialog window appear, asking you to confirm the allocation of the new subject.
Click Yes to add the new subject.

The new subject will be added to the end of the list.
That's it. After each new subject repeat the step seven to enroll the new subject, untill the end of the trial.